Archive for the ‘
Back-to-School ’ Category

What? It’s time to send the kids back to school? Already?
Are you sure? Because I’m still enjoying the warm weather and not having to pack lunch boxes–how about you?
OK. Time for a reality check. School starts this week for my kids. Others across the country began weeks ago and have already submitted their ‘What I Did Over Summer Vacation’ assignment.
As we all know, it’s important to start the school year off on the right foot. Freshly sharpened pencils, a positive mindset, and solid sleep habits are first-rate ways to get the year in motion. An apple for the teacher couldn’t hurt…
If you’re feeling stressed just thinking about everything you need to do to keep you and your kids organized throughout the school year, take a deep breath. There are basic organizing principles that can help you simplify and streamline what needs to get done and help you and your kids get an A+ in ‘Organization’ for the school year.
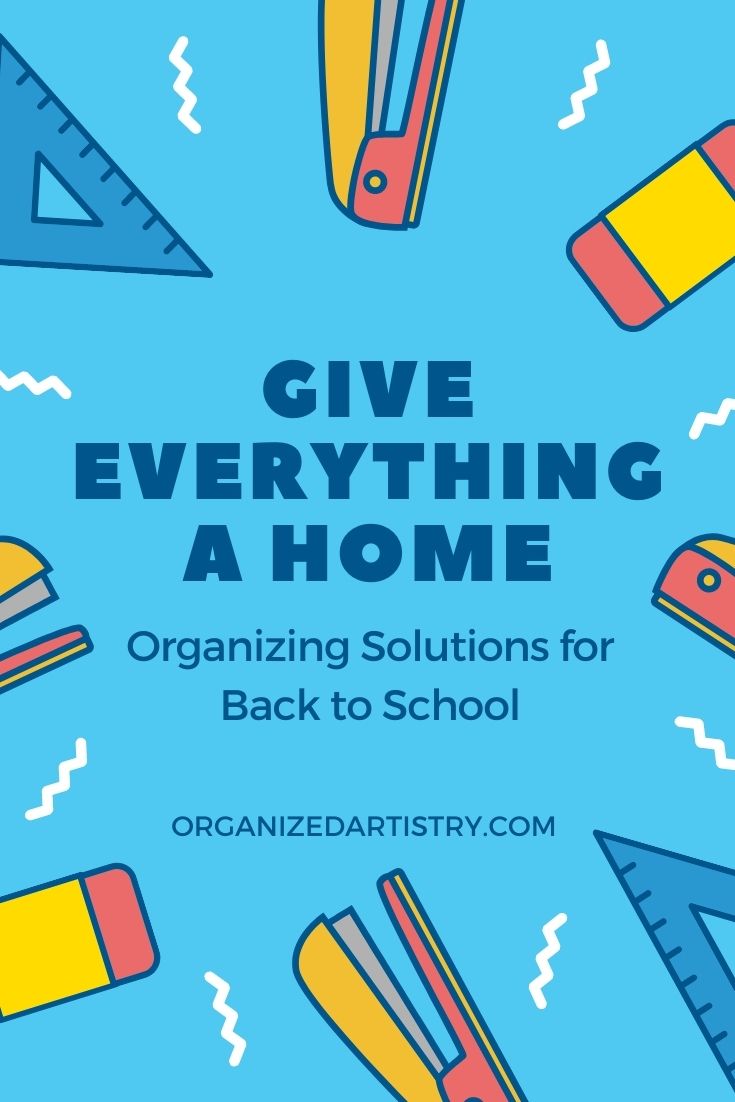
One of these basic organizing principles is known as ‘Give Everything A Home.’
Everything that comes into your home and already exists in your home needs a place to ‘live.’ The concept may sound overwhelming, but if you think about it–most of what you own already has logical homes. For example, your clothes live in a closet, your toothbrushes live in the bathroom, and your wallet lives in your handbag.
Establishing ‘homes’ for your belongings helps you to easily locate them when you need them. As the back to school season begins and as the school year progresses, you and your kids are going to need to find and access school-related items quickly, efficiently, and sometimes (for the kids) independently.
Here are some tips and solutions for giving everything ‘back to school’ a ‘home’ in your home:
What needs a home: Papers
Create a Home for School-Related Papers
Since my eldest started kindergarten a decade ago, the amount of paper that comes home from school has been drastically reduced. But, even with schools using email, texting, and the Remind app to communicate with parents and reduce paper usage, papers still come home and still have to be read, filled out, and dealt with. Beware! Papers like to multiply like rabbits when left on a kitchen counter or dining room table!
Solutions:
• Designate a ‘home’ for papers that parents need to review and designate a ‘home’ for papers dedicated to each child. This could be a shelf, a set of stacking inbox trays, plastic drawers, or shoeboxes–whatever works for your space and budget.
When they come home from school, have each child place papers to be reviewed in the ‘parent’ spot and when the parent is finished processing the papers (permission slips/book orders/money collection) they are then placed in the ‘child’ spot. The child then takes those completed papers and puts them in their folder/book bag to take back to school.
Bonus tip: For papers that need to be referenced often during the course of a school year (school holiday schedule, class lists, etc.), consider placing them in a binder or folder and designate an easy-to-access ‘home’ for the binder or folder to live in.
What needs a home: Kid’s Artwork
Create a Home for Artwork
First, it’s scribbles on paper. Then, finger paints and leaf rubbings. Soon, the artwork becomes 3-D and it’s living on your dining room table. And in the entrance way. And all over the floor in your kid’s room.
Solutions:
• Determine where your children’s artwork will ‘live’ before it even starts coming through your door. What space works best? Your child’s room? The refrigerator? A mudroom or hallway space? Knowing in advance where the artwork will ‘live,’ makes it less likely for it to take up residence across your dining room table. Decide where the artwork will live and reserve that space for that purpose.
• Create space limits for displaying and keeping artwork. Will it be displayed on the front of the fridge? An eye-level shelf in the family room? Will it be stored in a portfolio folder? A clear bin in your attic? Let the size of the space determine the amount of artwork you can display and store.
Too much artwork and not enough space to put it on display? Have the kids select what they want to keep–this improves decision making skills. Photograph much-loved 2-D and 3-D pieces and create a small printed or digital photo album of their work.
• Create time limits for displaying and keeping artwork. This can be determined by how much artwork is coming through your door multiplied by the number of children you have. Work with your child(ren) to figure out how long they would like their art displayed before giving up the space to another work of art or another person’s work of art. A week? A month? Until the next piece of art comes home?
• Create an ‘exit strategy’ for the art (you parents of preschoolers know what I mean….). Will it be photographed and kept? Mailed to Grandma? Will it be photographed and tossed? Yes–your trash receptacle may at some point become a permanent ‘home’ for your children’s artwork.
Bonus tip–Don’t throw artwork away in front of your budding artist!
What needs a home: Library Books
Create a Home for Library Books
Raise your hand if you or your kids have accidentally mixed library books in with the books in your home. I’m raising my hand, too! (Yes–it even happens to Professional Organizers).
Solutions:
• Create a specific home just for library books–a simple way to prevent school and town library books from accidentally co-habitating with other ‘like’ books in your home. That ‘home’ may be a shelf, a container, a basket or a designated spot in a closet. Wherever that spot is, put a label on it that says ‘Library Books’ so everyone can see it. When books are brought home from the library, place them here first. After reading them, return them to this spot. When they’re ready to be returned, you’ll know exactly where they are.
Speaking of returning books…
* Bonus tip–Make a note in your calendar of the day books are due back to the library. Make another note one week in advance of that date. Knowing the due date means not having to pay a ‘late book’ fee!
What needs a home: School Supplies
Create a Home for School Supplies
Have you gone shopping for school supplies yet? Not just for the supplies the teacher would like for the classroom–I’m talking about the ones you need in your home. Yes–those purple glue sticks, crayons, packages of loose leaf paper, and poly folders–they will need a ‘home,’ too.
Solutions:
• Designate a space in your home for the storing of basic school and office supplies your kids may need for the year. For quick access, this spot should be close to where they do their homework. The supplies can live in one central location or each child can create a ‘home’ for their personal school supplies in their room or close to where they prefer to do their work.
• For small items like erasers and paper clips or items in multiples such as markers and crayons, use containers that act as smaller ‘homes’ to keep these items grouped together in the space, bin, shelf, or drawer designated for school supplies.
Bonus tip – Take inventory of school supplies at the beginning of every month. You’ll still need glue sticks and sharp pencils in May and June!
Give the ‘Give Everything A Home’ principle a try. Soon you’ll begin to see just how manageable the school year can be when you give everything a home. And if it works well for school, just think how well the ‘Give Everything A Home’ principle would work in other areas of your home and life…Hmmmm…
Wishing you and your kids an organized school year!

Some of your children may have started school already. Some may still be anticipating the first day. Despite their start date, my guest blogger, Linda Samuels of Oh, So Organized! wants to make sure your child’s school year is a happy and organized one. Read on for her top tips for creating simple systems for getting and staying organized throughout the school year.
It’s that time of year. Leaves are turning, classes are starting, and new school supplies are flying off store shelves. The other day I came across an old pre-printed pad, “A Note to School from Linda Samuels,” which I no longer use since our daughters are in college and beyond. Seeing the notepad made me think about all the years of excited anticipation we had preparing for school to begin. Are you and your kids ready for the transition? Take a deep breath. Getting that organizing piece working for you can make a big difference in having your days run more smoothly. Here are my top tips for an organized, joyful school year.
Cycle – Giving closure to the previous school year helps us get ready for this year. Sort through last year’s school papers (preferably with your kids.) It’s a great opportunity to review what was accomplished and what they were most proud of. It gives you a chance to create a mini time capsule representing last year. Be ruthless when you sort. Save what’s important and recycle the rest. Store the “keepers” in a large envelope. Write your kid’s name, grade and year on the outside. Store the envelope in a larger container. Add a new envelope at the end of each school year.
Capture – Establish a place to put the current school papers as they enter your home. You can use bins, binders, boxes, or any container that’s easily accessible. As artwork, graded papers, or programs come in, put them in their designated spot. You might want a separate container for each kid. When the container gets full, you can do some editing. Then the “keepers” can be stored in their year-end envelope, as described above.
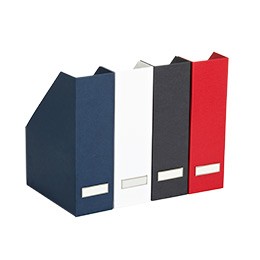 |
| Classic Stockholm Magazine Files from the Container Store are helpful for organizing papers |
Land – Create a place for backpacks, coats and notes to reside. When kids come home, they will know where to put their belongings. Cubbies work well, as do hooks. Make them easily accessible both in terms of their physical placement in the home and the heights that you place things. The easier you make it, the better chance you have for creating the “place it here” habit. Consider adding a white board or other communication center in this area to leave notes, messages and important items for kids to remember. Before bed, have your kids make sure that all needed items for the next morning are reading in the “land” area.
Center – One of the essential ingredients for school success is establishing a place to do homework and have school supplies readily available. When it’s time to do that science project, it’s no fun to have to hunt for the markers. Review your current supplies to see if there are any items that need to be replaced. Create a zone for the supplies to reside. If your kids like to move around to various locations for doing their homework, then put together a portable tote or crate to hold the supplies. Whether they prefer working on a desk, their bed or the kitchen table, the supplies can “travel” with your kids.
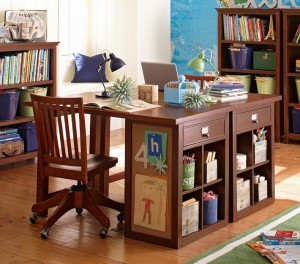 |
| Pottery Barn Schoolhouse Craft Desk |
Assess – Fall is a natural time to review clothing needs. Organize with each kid separately. Go through their closets and drawers. Remove any items that no longer fit, they won’t wear, or need repair or cleaning. With the “do not wants or fits,” donate or save for younger kids if appropriate. Make a shopping list of items that are needed. Remember that less is easier to maintain than too much. Factor in how often laundry is done. Especially if it’s done frequently, you many not need as many clothes. Getting dressed is so much easier and less stressful when everything fits, is clean, and organized.
Resources – This is the time of year when back to school tips and suggestions are abundant. Many of my organizing colleagues have great wisdom to share. Some of my favorite tips and posts are Lorie Marrero’s video about using a binder for organizing school papers and more, Leslie Josel’s Student Organizing Pinterest board, Clare Kumar’s 5 Tips for a Better Back to School, Helena Alkhas’ school paper organizing system, and Ellen Delap’s Back to School Tips to Organize Your Home.
Perspective – With transitions come new patterns, more to dos, and extra stress. Reminding our selves to enjoy the moments can be helpful. They go so fast. A few years ago I wrote a guest post for Working Mother, Moms’ ‘To Do’ Lists, about getting things done, parenting and appreciating the various stages of our children’s lives.
What are some of your favorite ways to stay organized for the school year? Come stop by to share your best tips and resources.
Linda Samuels, CPO-CD® is a compassionate, enthusiastic professional organizer and coach, founder of Oh, So Organized! (1993), author of The Other Side of Organized, and blogger on organizing and life balance. In July 2013, Linda joined the Institute for Challenging Disorganization (ICD) Board of Directors as President-Elect. She has been featured in The New York Times, Woman’s Day, Bottom Line Personal, Westchester Magazine, Everyday with Rachael Ray, and Enterpreneur.com. Connect with Linda on Twitter, Facebook, Pinterest, blog, or website. Sign up for a free monthly e-newsletter with bonus tips at ohsoorganized.com.
Students from preschool to college love to use backpacks. They come in a multitude of sizes, colors and price points and can hold a ton of books and supplies. My guest blogger, Amber Kostelny of Amber’s Organizing knows that a backpack has the potential to be a black hole or bottomless pit so she’s offering some of her best tips for organizing a backpack. Read on…
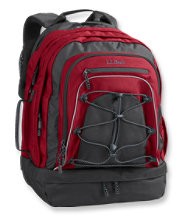 |
| LL Bean Turbo Transit Backpack |
Organizing a backpack and keeping it neat and tidy is not much different from organizing something else in your home or office. Similar principles apply. Here are my top tips! (and if you’ve got some to share- please comment! We’d love to hear them.)
• Use pouches that are colored and clear. This may sound confusing, so let me explain. Seeing through a container or pouch makes finding pencils, pens, and erasers a lot easier. If they are tinted a color, that’s even better. Over time, your child will for example associate blue for pencils and red for note cards. This makes it easier to grab a pouch out of the bag. Avoid loose crayons, highlighters and erasers. Everything should be in a pouch or small bag.
• Assign each pocket in the backpack its’ own function or use. For example, maybe the front small pocket will always contain the pencil case and the first large pocket- folders and paper, where as the second large compartment or pocket will house the books. Again, over time your student will instinctively associate certain pockets with certain contents. They’ll never have to guess where something is if everything “has a home”.
• Clean it out regularly. This step is the most important. I recommend each and every night, clean out and tidy up the backpack. This may not be realistic for your child but if you can get into this habit, it will really help. Otherwise, shoot for once a week. That will help keep the mess at bay.
• Label everything. Cases, pouches, books, folders and just about anything else you can think of- label it! Although kids like to write the label or title out themselves, encourage them to use your label maker. It will make it easier for everyone if the labels are clearly typed out.
• Color code folders, binders, and notepads. Choose one color to represent one subject. Perhaps your child’s math book has a book cover. Then stick to a blue folder or notebook to match it. All of these little changes can sometimes make a huge difference if you child identifies with colors to stay organized.
Amber has been serving the Chicago area as a professional organizer since January 2004. She is a Certified Professional Organizer® and specializes in residential and small business organizing. She especially enjoys working one on one with clients to customize the organizing solutions and systems to add efficiency to their space or business. Helping people problem solve difficult spaces and creating productive work spaces is very rewarding to her. Amber is a Golden Circle member of the National Association of Professional Organizers as well as local member of the Chicago chapter.
Links:
ambersorganizing.com
chicagoprofessionalorganizer.com
facebook.com/ambersorganizingllc
twitter.com/luvtoorganize

I know it’s summer, and no one likes to mention the word ‘school’ during the summer, but I want to prepare you for what is coming. I bring up the topic of ‘school’ because just like kids, parents need to start the school year with tools to make their lives easier.
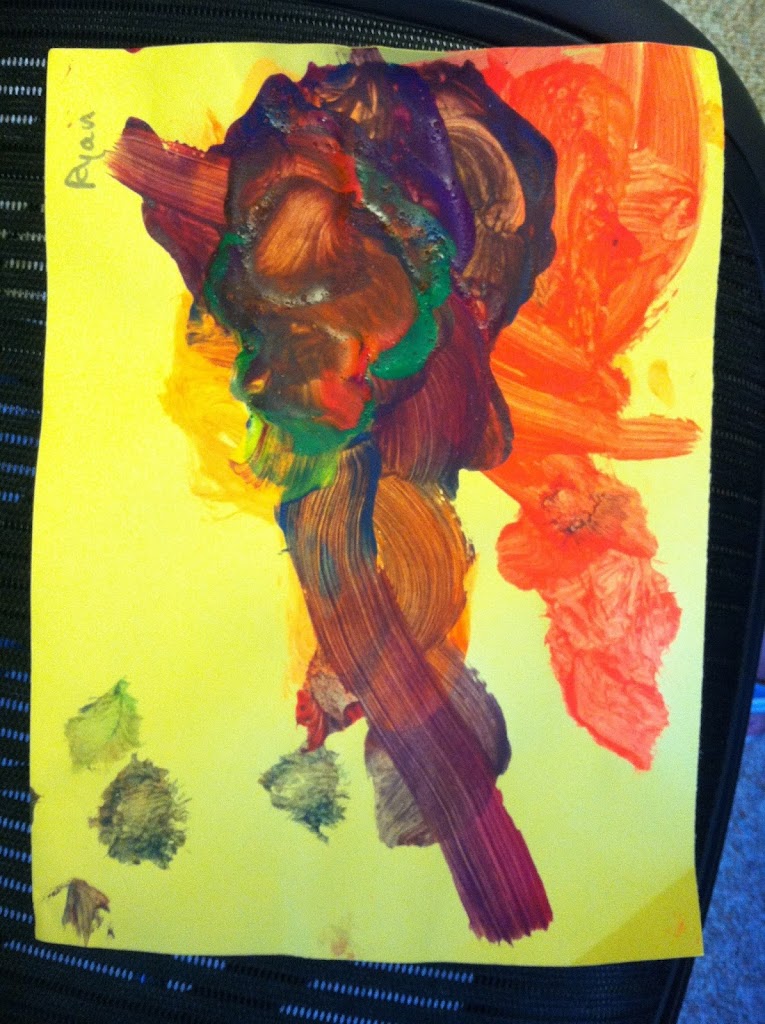
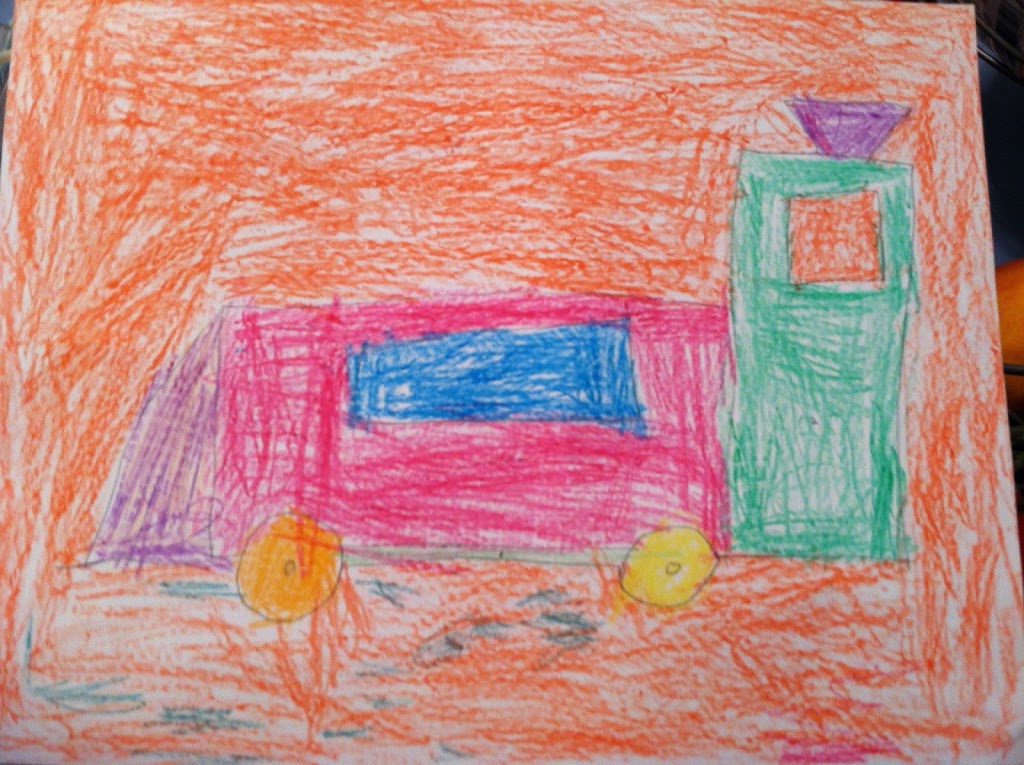
I’ve started using an app for de-cluttering my house and I wanted to share it with you so you’re ready for the day your child brings home this:
and this:
And enough three-dimesional pieces of art to fill an exhibition space at the MOMA.
The app is called Artkive…
Their tag line is: ‘The clutter free way to save and enjoy your child’s artwork’
I read about it in an article on apps for Moms about a year ago and decided to give it a try. I’m so glad I did–I LOVE IT!
True Confessions: Despite the fact I’m a Professional Organizer, I still have to deal with the influx of my children’s artwork just like you do. What I’ve done in the past was display some of my son’s artwork, have him sort and purge all of it with me at the end of the year, photograph him with some of it, keep his best pieces and toss the rest. We still take pics of his artwork if he no longer wants to keep it but Artkive has made the process a much easier and organized one.
Now, artwork comes home from TWO children and as it comes out of their backpacks, I ‘Artkive’ the work of art and place them in each child’s room either for display or storage.
If you’d like to see the top of your horizontal surfaces this school year, read on–you can thank me later…
How to start…
• Download the Artkive app (for
iPhone and Android).
• Set up an account with the name(s) of your child(ren) and their grade in school.
• Take a picture of your kid’s artwork or upload from your camera roll.
• Tag the photo with your child’s name, grade, date and title of artwork.
• Share with family and friend or turn into a book (coming soon: other products).
It’s just that simple. I haven’t created a book of my kids’ artwork yet, but it’s something I would definitely try out in the future. Currently, there are two options: 8″x8″ or 8″x11.” The cost is $25 for the first 20 pages–$1.00 for each additional page. Before holiday time, Artkive plans to expand to gifts like mugs, calendars and the like.
Why I love Artkive…
• It’s EASY to use.
• I can quickly email artwork to my husband or parents without having to first download the pictures to my computer and emailing them from there.
• All artwork is backed up in the ‘cloud.’
• It helps eliminate artwork clutter.
• It’s free. Go download it and set it up before the first day of school.
You’re welcome.
After you’ve used it for a while, come back and let me know what you think about Artkive!
CLICK HERE to sign up for Organized Artistry’s motivating monthly newsletter!
“I want to watch TV!”
“I want to play with my toys!”
“I’ll brush my teeth later!”
Have you heard these cries from your kids in the morning? They are direct quotes from my two children. And on occasion, I have been guilty of giving in to them. What did it get me? Some prodding, pleading and yelling, a mad dash out the door, and no one starting out their day in a good mood.
I like to start my day in a good mood–I want the same for my kids. It’s important to start the day off with a smile–especially at back-to-school time.
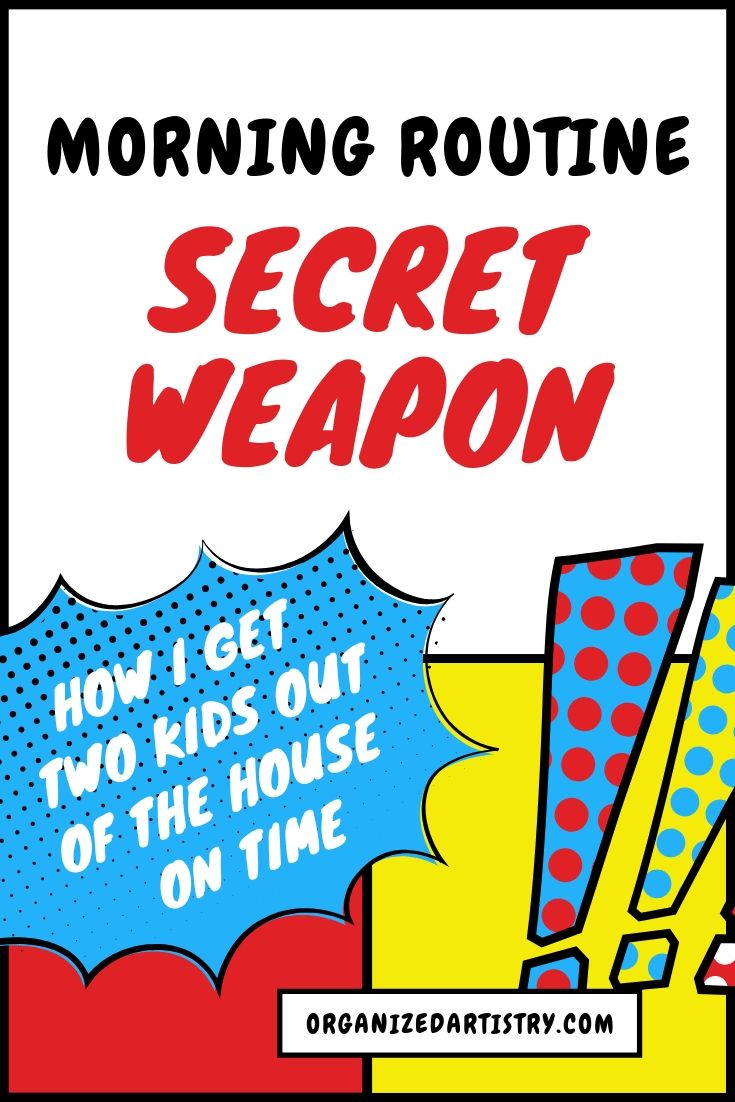
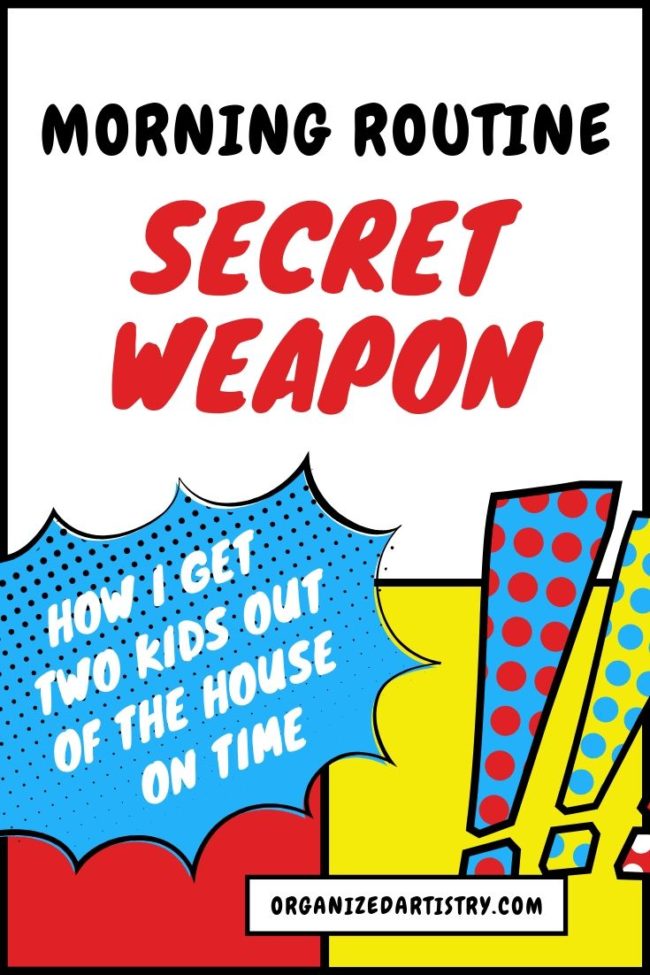
How did I turn our morning routine around?
My secret weapon:
The ‘Business Before ‘Pleasure’ Method for Morning Routines
What does the ‘Business Before Pleasure’ Method involve? Its basic philosophy is that all morning routine ‘business’ must be taken care of before ‘pleasure’ (playing, watching TV, using an iPad). Morning routine ‘business’ includes (in no particular order):
• Using the bathroom and washing face/brushing teeth
• Selecting clothes (if it wasn’t done the night before)
• Getting dressed
• Eating breakfast
• Cleaning up after breakfast
• Putting on shoes
• Checking school bag for everything needed for the day
My kids are 7 and 3. My big guy can do most of the ‘morning business’ himself by now but still needs a bit of prodding. My little one can be a bit of a ‘wild card.’ You never know what he’s going to do. For these reasons and more, it was important to create a set of ‘rules’ to dictate what needs to happen before they could play/watch TV and so I can get them to school on time.
What makes the ‘Business Before Pleasure’ Method an easier way of getting ready in the morning?
• Lunches and school bags are prepared the night before
• The weather report is checked and clothes are picked out for the next day before bedtime
• The kids know what they are responsible for accomplishing in the morning
• They are learning how to manage their time
• Their desire to have that extra ‘pleasure’ time in the morning motivates them and ensures me a little extra time in case of an emergency or glitch (ex. full diaper/last-minute requests/faulty coat zipper)
Thanks to the ‘Business Before Pleasure’ Method, our mornings are more smooth and less hectic now. And, yes–most mornings my guys get to do what they want to do before leaving the house.
By the way, just saying the phrase ‘Business Before Pleasure’ drives my 7 year old crazy. But, better it drive him crazy for a fleeting moment than have Mommy crazy the whole morning!
Update: I originally wrote this blog post when my kids were younger. They’re now 13 and 9 (!?!) and I still use this ‘secret’ in the morning. And, yes it still drives them crazy…
We remember to pack sheets, electronics, and posters for the wall when kids go to college but what about medicine? Yes, there’s usually a medical center on campus but my guest blogger, Professional Organizer Heather Ahern of The FUNctional Home believes that preparing college students for minor medical issues is equally as important as preparing them for academics (I agree!).
When packing a student to live away at college, don’t forget to assemble a comprehensive first aid kit.
Think beyond ibuprofen and Band-Aids when creating this kit for a dorm room. On campus the Health Services are often not available 24 hours a day and some things can be handled easily if the right supplies are on hand. Students need more than the typical pre-packed first aid kit that contains only one or two doses of medications and a few bandages. Also when stocking your own first aid kit, you can ensure the medications are your preferred brands and have a longer shelf life by checking the expiration dates.
A typical first aid kit should include the basic tools and equipment needed for cuts, bumps and bruises:
• Adhesive bandages in all shapes and sizes
• antiseptic wipe packets
• antibiotic ointment
• sterile gauze pads
• adhesive tape
• hydrocortisone ointment
• scissors
• eye wash
• instant cold compresses
• hot packs
• elastic (Ace) bandage
• thermometer
• tweezers
This kit will also be an extension of your medicine cabinet at home so it needs to include:
• Acetaminophen for aches and pains,
• Ibuprofen for pain caused by inflammation and swelling
• laxatives
• anti-diarrhea pills
• antacids in case of indigestion
• Benadryl for allergic reactions
• seasonal allergy medicine
• some basic medications for cold and flu season.
• Athlete’s foot medicine may come in handy as well.
A conversation on how to use all these new purchases will be helpful for many students living away from home for the first time.
Before my son left for his freshman year at college we took an unhurried trip to the drugstore. We walked up and down each isle collecting what he needed, discussing why he may need it, with an explanation on how to use it. Being in a new situation, having an altered schedule and eating different foods can bring on a variety of issues in the first few months that many students may have never dealt with before. Take some time to clarify why you included Imodium or Dulcolax for example and the difference between them. You may want to cover when the “kit” is appropriate and in what circumstances the Campus Health Services would be a better choice.
Purchase a durable box to contain all these supplies after you have amassed all the items to insure everything will fit.
Remove some items like bandages from their original boxes and use plastic zip-top storage bags to save space. Be sure to include a copy of their insurance card, the campus health center’s phone number, the phone number for your child’s physician and a list of any known allergies to medication.
Remember all first aid kits need to be restocked occasionally. Check expiration dates and replace any used or out-of-date contents each year before heading back to school. This is a good time to do an inventory of your own supplies at home too.
 Heather Ahern is a Professional Organizer living in Bridgewater MA
helping families and seniors “Make Sense of their Stuff and Create
Peace in their Home”.
For more information, tips and inspiration
visit TheFUNctionalHome.com or follow Heather on Facebook at https://www.facebook.com/TheFUNctionalHome.
During the month of August I’ve been posting weekly organizing tips to my Organized Artistry Facebook page. The topic: back-to-school organizing.
This past week I talked about how to avoid the age old question, ‘What should I make my kids for lunch?’ But, lunch is not the only thing that can go in a lunch box. How about including a note or surprise in that lunchbox that shows your kid that you’re thinking of them during the day? Need some good note/surprise ideas? How about 51 of them? Read…
51 Smile-Inducing Lunch Box Notes and Surprises
Keep it organized by determining when you’ll include a note or surprise with your child’s lunch–every Monday, the day of a big test, or when you want to give them a little extra lovin’ are a few good ideas. Mark it on your calendar as an extra reminder.
My son starts kindergarten this Fall–I’ve bookmarked the site so I can refer to it during the year. He’s going to love some of these notes and surprises. I like #19 and #25 best.
Which one will your child like?
Going away to college? These tips are for you!
It’s no secret–dorm rooms are notoriously small. In order to embrace your itty-bitty home-away-from-home, it’s important to arrive organized and create an organized space for yourself.
Here are some organizing tips for the college-bound student:
De-clutter Before Leaving Home
Mom and Dad are having a tough time watching you ‘leave the nest.’ It won’t help matters if you leave that nest a mess before you leave. Sort through your belongings and decide what you’d like to take with you to college and what you’d like to leave at home. Purge out unwanted items and create a neat and organized space for yourself. You’ll want to come back to an uncluttered room at vacation time.
Ask for Information – Call Residential Life
Give the Residential Life office a call to ask about furniture, size of room and storage options so you’ll know what to bring and what to keep at home. Another good question to ask is what’s NOT allowed in a dorm room. Many colleges and universities prohibit microwave ovens, coffee makers, hot pots. and candles.
Make Decisions – Call Prospective Roommate(s)
Once you find out who you’re roommate is, contact them—not only to introduce you’re self but more importantly to discuss who will bring what! You don’t want to stuff two DVD players, two TV’s and two fridges in your small, shared space. You need all the square footage you can get!
Shop at Home
Don’t wait to get all of your stuff at a store down the road from campus. Everyone else had the same idea and already bought out the coolest looking comforter sets and memo boards. Now that you’ve spoken to Residential Life and your roomie-to-be, start looking online and in brick & mortar stores for dorm room organizers and other needed items. Involve Mom and Dad in the process and let them help out. They want to know you’ll be OK (and organized) when you’re away…
How will you know which products you’ll need to set up an organized dorm room? Start by asking older friends and relatives what they used to maximize space in their dorm rooms. Refer to college checklists offered by many stores. Before you start shopping, here’s a list of some popular and functional storage products to turn your dorm room into an organized oasis:
Bed Risers
Bed Risers elevate a bed to provide more storage space underneath. It’s a great place for storing off-season clothes and rarely used items.
Under Bed Boxes w/Wheels
This is the perfect container for storing those off-season clothes and rarely used items discussed above. Wheels make it easier to pull out from under the bed.
Bed Organizer
A Bed Organizer or ‘bed pocket’ tucks under a mattress, hangs over the side, and contains multiple pockets that organize the little things that can create clutter in a small space. Perfect for holding whatever a college student needs by their bedside.
Hanging Hamper
No room for a laundry basket? Use a Hanging Hamper! This type of hamper is equipped with a hanger at the top–hang it from a doorknob or closet rod. Some models have a carry strap—great if the laundry room isn’t close to your own room.
Closet Organizers
Consider using a Canvas Hanging Sweater Organizer and/or Shoe Organizer. These items have mini shelves that are designed to store sweaters, shoes and much more.
Folding Bookcase
A folding bookcase is the perfect solution to a shelf-less dorm room. It can be used as a freestanding bookshelf or as a hutch on a desk. Often, there is no assembly required and it folds for easy moving and storage during vacation time.
With a few phone calls, some shopping, and a bunch of cool products, you’re on your way to getting an A+ in Organized Dorm Living 101!
If it’s August, it must be Back-to-School shopping time!
In honor of the tradition, I’ll be posting weekly organizing tips on Organized Artistry’s Facebook Fan Page on the topic of Back-to-School organizing. Check back every week in August for a new way to get your kids (and yourself) organized for the upcoming school year.
Until then, I leave you with one of my favorite commercials…
I’d better practice my singing–my five year old starts kindergarten this year and he needs supplies!
So, school has been is session for over a month for some students. How’s everyone doing?
In case you didn’t get off to the most organized start, not to worry. Here are some tips for getting an A+ in organization for the rest of the school year…
Create a home for library books
A great way to NOT get them mixed up with other ‘like’ books in your home
and while you’re at it…
Make a note on your calendar the day the books are due back to the library. No surprises means no need to pay a library fine.
Designate a home for school papers
Doesn’t it seems like schools are the reason so many trees are chopped down each year? The amount of papers sent home is staggering and when you’re not looking, they multiply like bunnies on your kitchen counter or dining room table.
An easy system to adopt is to have a spot for papers parents need to see/deal with and a spot for each child. This could be a drawer or shoebox–whatever works for your space and budget. Have each child place papers from school in the parent ‘spot’ and when the parent is done processing the papers (trip slips/lunch money/) it is returned to the child ‘spot.’ The child then places the papers in their book bag.
For papers that need to be referred to often, consider placing them in a binder or folder for quick reference (holiday schedule, class lists, etc.).
Designate a home for artwork
First it’s ‘scribbles’ on a page, then finger paints and leaf rubbings come home. Soon, the artwork becomes 3-D and it’s living on your dining room table. Before it takes over your home, determine where your children’s artwork will live in your home. A folder? A box? Your child’s room? Make your child responsible for their creations. They may surprise you with how well they take care of their works of art.
Have supplies on hand
Take advantage of back-to-school sales to save you time, money an stress throughout the school year. I remember when I was an elementary school teacher, Staples would sell mini bottles of Elmer’s Glue for .10 cents a bottle in August. I would stock up for my class because inevitable by February, everyone’s bottle tips were clogged. Another example–paying .59 cents for a pack of looseleaf paper in the summer is easier on the pocket than $2.49 a pack mid-year.
Know what fits (clothes)
As the seasons change, have a try-on session with your kids. No child wants to go to school in pants that are too short or wear shirts with buttons that pop open and be laughed at by their peers. Write down their needs on a post-it and put it in your wallet for the next time you’re at the mall. For my son. I take inventory of all of his shirts to determine what color bottoms he needs. Right now I’m looking for navy blue and gray pants and I have his waist size and pant length written on that same post it. (Yes, I carry a tape measure in my purse! Did you doubt it?)
Prepare the night before
This is probably the most important back-to-school tip I can give you. If there’s one thing you can do to stay organized, its to get ready for the next day, the day before. Make school lunches when you’re making dinner. Before bedtime, have your kids place their packed knapsacks by your home’s point of exit so all they have to do in the morning is put their lunch inside (as well as a last minute item or two) and they’re ready to leave. A less stressful morning often leads to a less stressful day. Who doesn’t want that?
Wishing you an organized school year!